
Fluid Checks Every Driver Should Be Comfortable Doing

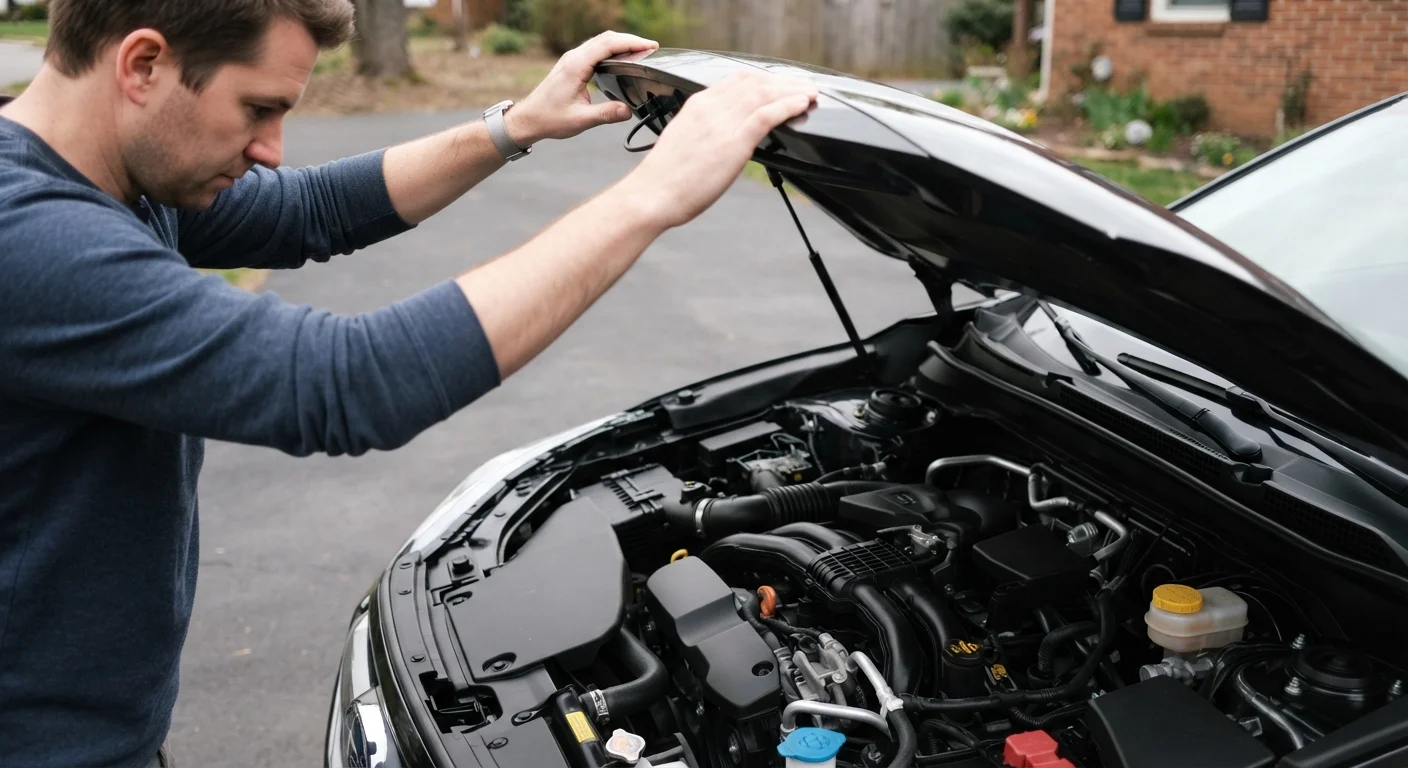
Photo: ScoutAnswers.com | Blogs That Ignite Curiosity editorial
Key Takeaways
- Most fluid checks require no tools and take under 20 minutes total.
- Engine oil, coolant, brake fluid, power steering fluid, and windshield washer fluid are the five key reservoirs to monitor.
- Color and consistency changes often signal a problem before a warning light appears.
- Always check fluids with the engine off and cool unless the owner's manual specifies otherwise.
- Low or contaminated fluid can lead to costly repairs if left unaddressed.
Why Fluid Checks Belong in Every Driver's Routine
Fluids are how a car's major systems - the engine, brakes, steering, and cooling - protect themselves and communicate with each other. When they drop below safe levels or break down chemically, those systems start to degrade, often quietly, long before a dashboard warning light activates.
The good news: checking most fluids takes no tools, no mechanical expertise, and typically less than 20 minutes. It's one of the simplest ways to catch a developing problem early and avoid a much larger repair bill later. Whether you're building a broader vehicle maintenance schedule or just want to feel more confident under the hood, fluid checks are the right starting point.
For a comprehensive look at everything involved in keeping a vehicle roadworthy, see Everything Involved in Keeping a Car Roadworthy.
What you will need
What You'll Need Before You Start
The tools required are minimal - the most important item is your owner's manual, which identifies where each reservoir is located in your specific vehicle and what fluid specifications apply. Engine layouts vary significantly between models, and locating the right cap without guidance can lead to mistakes.
Owner's Manual
Identifies the location of each reservoir and specifies the correct fluid type and acceptable level range for your vehicle.
Clean Lint-Free Rags or Paper Towels
Used to wipe the oil dipstick clean before taking an accurate reading.
Flashlight or Phone Torch
Helps illuminate fluid color and level inside translucent reservoirs in low-light conditions.
Not sure which tasks you can confidently handle yourself versus when to involve a professional? Our guide on DIY car maintenance vs. taking it to a shop walks through how to make that call with confidence.
Step-by-Step Fluid Checks
Work through each fluid in sequence. Starting with the engine off and cool protects you and ensures more accurate readings across the board.
Park on a level surface and let the engine cool
Pull onto a flat, stable surface and shut off the engine. Wait at least 30 minutes before opening the hood - this is especially important for the cooling system but also ensures more accurate oil level readings. Engage the parking brake for safety.
Check the engine oil level and condition
Locate the oil dipstick - typically marked with a bright handle (yellow or orange) near the front of the engine. Pull it out, wipe it clean with a rag, reinsert it fully, then pull it out again. The oil should fall between the two marks on the dipstick.
Examine the color: healthy oil is amber to light brown. Black, gritty, or milky oil signals it's overdue for a change or has a more serious issue. A milky or frothy appearance can indicate coolant mixing with oil - have a mechanic inspect this immediately.
Inspect the coolant (antifreeze) reservoir
The coolant reservoir is a translucent plastic tank connected to the radiator, usually labeled with a temperature or snowflake symbol. Check the level against the MIN and MAX markings on the side. The coolant should appear bright green, orange, or pink depending on the type - never brown or rusty.
Check the brake fluid level and color
The brake fluid reservoir sits on top of the brake master cylinder, usually near the back of the engine bay on the driver's side. It is a small, translucent cap-covered container. Without opening it, look through the sides - the fluid should be between MIN and MAX.
Brake fluid should be pale yellow or nearly clear. Dark brown fluid indicates moisture contamination and warrants a fluid flush by a qualified mechanic.
Look at the power steering fluid (if applicable)
Many newer vehicles use electric power steering and have no fluid reservoir. If your vehicle has hydraulic power steering, the reservoir is typically located near the power steering pump with a steering wheel icon on the cap. Check the level against the dipstick attached to the cap or the markings on the reservoir body.
The fluid should be clear to light pink or red. A dark or burnt smell indicates it may need replacing.
Top off or check the windshield washer fluid
The windshield washer reservoir is typically the easiest to find - look for a cap marked with a windshield and water jet icon. Unlike other fluids, this one carries no mechanical risk if it runs low, but visibility directly affects safety. Use a premixed washer solution appropriate for your climate. In winter, use a freeze-resistant formula.
Never Open a Hot Coolant Reservoir
Reading the Warning Signs Between Checks
Scheduled checks are valuable, but knowing what to watch for between inspections is equally important. Spots on the driveway after parking overnight - especially oily, greenish, or reddish puddles - can indicate a leak that warrants prompt attention. A burning smell while driving, steering that feels heavier than usual, or a spongy brake pedal are all signs that one of the fluid systems may need immediate professional evaluation.
Brake-related symptoms in particular should never be deferred. The brake wear warning signs article covers the early cues that indicate it's time for a professional inspection, many of which tie directly to fluid condition.
Brake Fluid Is a Job You Can Observe, Not Ignore
Pair Fluid Checks With Seasonal Maintenance
The content on this site is for informational purposes only and is not a substitute for professional advice. Always consult a qualified professional for guidance specific to your situation.