
Before You Paint: Surface Prep Steps That Determine the Final Result

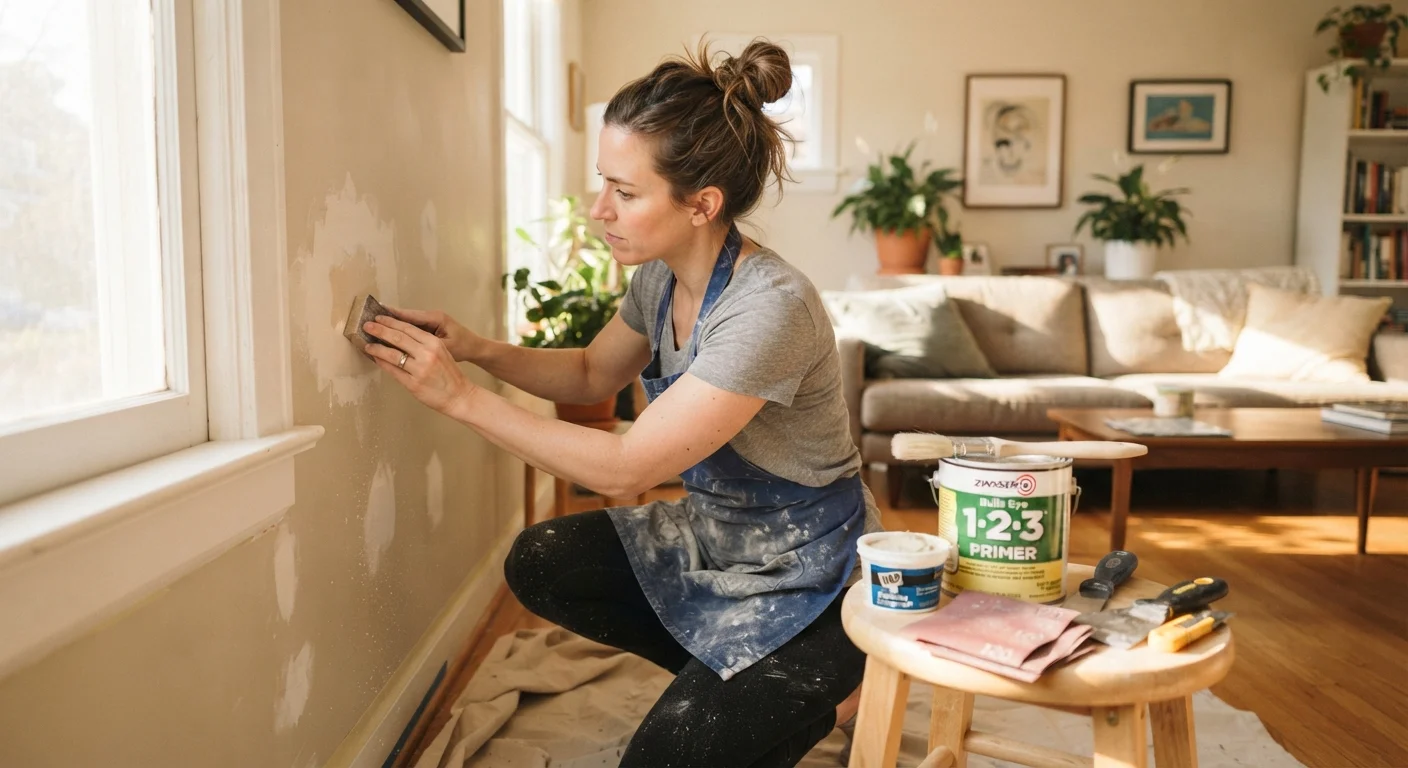
Photo: ScoutAnswers.com | Blogs That Ignite Curiosity editorial
Key Takeaways
- Cleaning the surface before painting removes grease and dust that cause paint to peel or bubble.
- Filling holes and sanding smooth ensures paint lies flat without telegraphing imperfections.
- Priming is not optional - it seals patches, evens absorption, and dramatically improves adhesion.
- Skipping any prep step typically shortens the lifespan of the paint job and increases touch-up costs.
- The time invested in preparation often exceeds painting time itself - and that is completely normal.
Why Preparation Determines the Outcome
Most failed paint jobs share a common cause: the surface wasn't ready. Paint is a finish coating, not a filler or a cover-up. It will faithfully reproduce every crack, smear, and texture variation underneath it - sometimes making flaws more visible than they were before. Professional painters routinely spend twice as long preparing a surface as they do applying paint, and for good reason. The preparation stage controls adhesion, coverage, and longevity. Skipping or rushing it simply shifts the cost forward - into peeling, uneven sheen, or touch-ups within the first year.
This guide walks through the prep sequence that actually matters, in the order it should happen.
Step 1 - Clean Every Surface Thoroughly
Paint does not bond well to grease, cooking residue, dust, or soap film. In kitchens and bathrooms especially, surfaces that look clean often carry an invisible layer of airborne grease or moisture minerals. Washing walls with a mild degreasing solution - such as a diluted trisodium phosphate (TSP) substitute - removes these contaminants before they can interfere with adhesion.
For most interior walls in low-traffic rooms, warm water with a small amount of dish soap is adequate. Rinse with clean water and allow the surface to dry completely - typically 24 hours - before moving to the next step. Painting over damp surfaces traps moisture and promotes mold growth behind the finish layer.
Don't Overlook Mildew Before Cleaning
Mildew-affected areas require a separate treatment. A diluted bleach solution (one part bleach to three parts water) applied before the general cleaning kills mold spores that would otherwise grow behind the new paint layer.
Step 2 - Patch Holes, Cracks, and Gaps
Once the surface is clean and dry, examine it closely under raking light - a flashlight held at a sharp angle to the wall reveals low spots, nail holes, cracks, and texture inconsistencies that flat overhead lighting hides. Mark anything that needs filling.
- Small nail holes: A lightweight spackling compound pressed in with a putty knife and sanded flush when dry is sufficient.
- Larger holes (up to 4-6 inches): Use a mesh patch kit or a California patch technique with drywall compound, applied in thin layers and allowed to dry fully between coats.
- Hairline cracks at corners or trim: These often indicate movement between materials and benefit from flexible paintable caulk rather than rigid compound. See our guide to caulk application for technique that holds long term.
Sand all patched areas smooth - typically with 120-grit paper - then wipe away dust with a damp cloth or tack cloth before continuing.
When to Call a Professional
Step 3 - Sand and Feather Existing Painted Surfaces
Even if there are no patches, lightly scuffing a glossy or semi-gloss surface with 150-grit sandpaper gives the new paint something to grip. Paint applied directly over a hard, glossy finish is far more likely to peel - especially in humid environments. Feathering the edges of old paint that has chipped or flaked creates a smooth transition so the new coat doesn't end at a visible ridge.
After sanding, remove all dust. A vacuum with a brush attachment followed by a tack cloth pass is more effective than dry brushing, which simply redistributes fine particles onto the surface you just cleaned.
Step 4 - Prime Before You Paint
Primer is the step homeowners most commonly skip when they're in a hurry - and it's the one with the most visible consequences. Primer serves several functions that paint alone cannot: it seals porous patches so they don't absorb paint unevenly (creating dull spots), it blocks stains from bleeding through, and it provides a consistent base that lets the topcoat achieve full color with fewer coats.
Use a PVA drywall primer over fresh patches or new drywall. Use a stain-blocking primer - shellac- or oil-based - over water stains, smoke damage, or heavy crayon marks. Standard latex primer is appropriate for previously painted surfaces in good condition that have been cleaned and lightly sanded.
Always spot-prime every patched area before applying your finish coat.
Use a stain-blocking primer over any water stain, smoke, or grease mark.
Sand glossy surfaces before applying any new paint coat.
Allow each prep layer to dry completely before moving to the next step.
Allow primer to cure fully before applying paint. Check the manufacturer's recoat window on the label - rushing this step can cause the topcoat to drag or wrinkle.
Quick Wins You Can Start Today
If a full room repaint isn't imminent but you want to get ahead of the process, several prep tasks can be completed well in advance - making the eventual paint day faster and less stressful.
The content on this site is for informational purposes only and is not a substitute for professional advice. Always consult a qualified professional for guidance specific to your situation.