
Why Caulk Fails - and How to Apply It So It Lasts

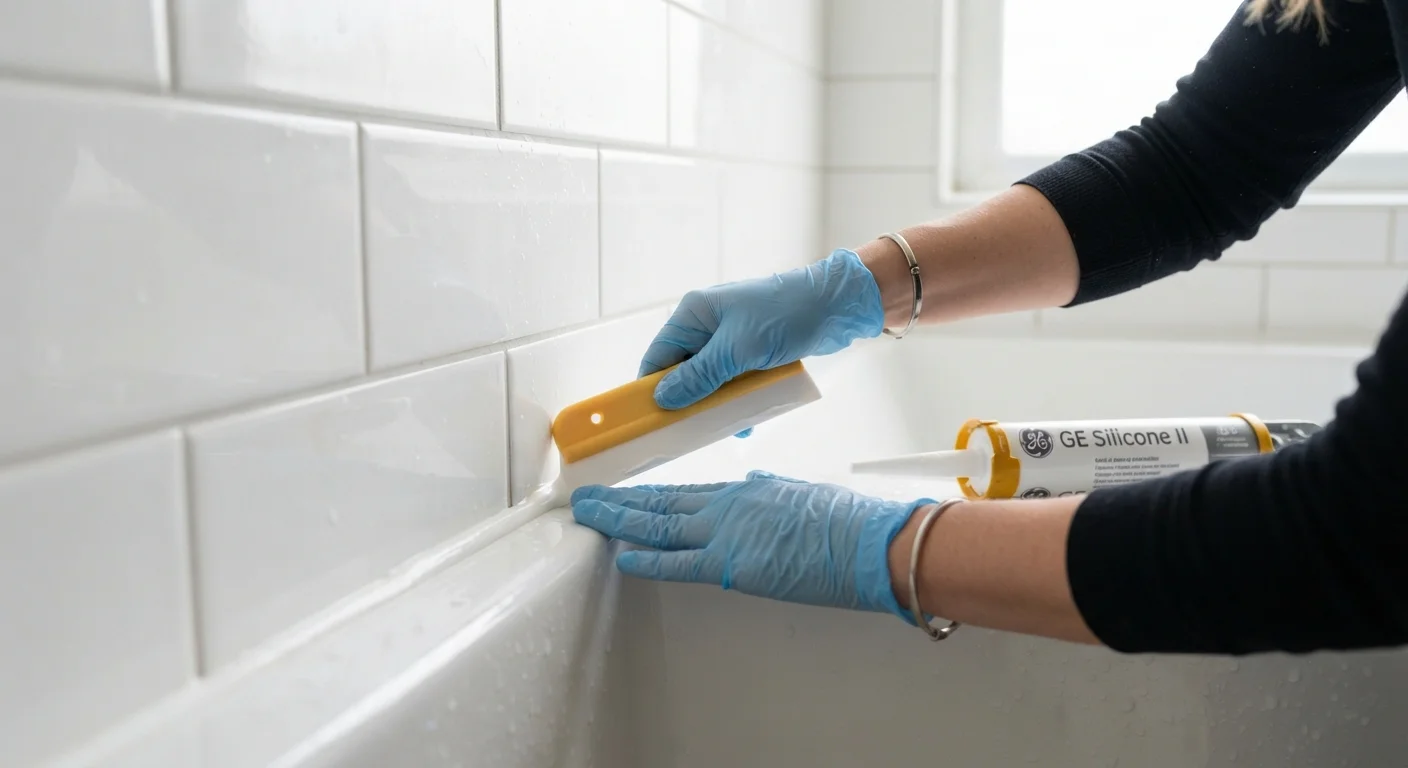
Photo: ScoutAnswers.com | Blogs That Ignite Curiosity editorial
Key Takeaways
- Surface prep - removing old caulk and cleaning thoroughly - is the single most important factor in adhesion.
- Applying caulk to a damp or cold surface is one of the most common reasons a fresh bead fails quickly.
- Using the wrong caulk type for the location (wet area vs. interior trim) leads to premature cracking and mold.
- Tooling the bead within the right window and avoiding overworking the joint produces a durable, clean seal.
- Skipping a curing period before exposing the joint to water or stress will compromise even a perfectly applied bead.
Why Caulk Keeps Failing You
Caulk is one of the most underestimated materials in home maintenance. It looks simple - squeeze a tube, smooth it out - but a bead that fails in three months almost always traces back to a preparation or technique mistake, not the product itself. Understanding where things go wrong is the first step toward a seal that actually holds year after year.
The good news: every mistake on this list is fixable with some patience and the right approach. Whether you're resealing a tub surround, weatherstripping a window, or caulking trim before painting, the principles are the same. Solid prep plus correct application equals a lasting bond.
Skipping removal of the old caulk before applying a new bead.
Caulking over a damp or contaminated surface.
Using an interior paintable caulk in wet or high-movement areas.
Overfilling the joint or applying too thick a bead.
Not allowing full cure time before exposing the joint to water or stress.
Getting It Right: Application Technique That Holds
Even after thorough prep, technique during the application itself determines how long your work lasts. Cut the tube tip at a shallow angle - roughly 45 degrees - and make the opening no wider than the joint you're filling. A common habit is cutting too large an opening, which deposits too much material and makes tooling difficult.
Move the gun at a steady pace in one continuous pass rather than stopping and starting. Hold the gun at a consistent angle and apply even pressure. Once the bead is laid, tool it immediately using a dampened finger or a caulk finishing tool. Press firmly to push the caulk into the joint rather than just smoothing the surface. One smooth pass is better than multiple strokes, which can introduce air pockets and uneven density.
Don't Rush the Cure in Cold or Humid Conditions
After tooling, remove any tape (if used) before the caulk skins over - typically within a few minutes of application. Pulling tape after the caulk has begun to cure can tear the edge and ruin the clean line you worked for. Then, critically, allow the full cure time recommended on the product label before introducing moisture, movement, or paint. Rushing this step is one of the fastest ways to undo good work.
For context on how preparation quality shapes every home improvement outcome, see our surface prep guide for painting - the same principles apply directly to caulking. And if you're remodeling a space where caulk is just one piece of the puzzle, our article on commonly overlooked renovation details covers other spots that often get missed.
The content on this site is for informational purposes only and is not a substitute for professional advice. Always consult a qualified professional for guidance specific to your situation.