
Switching Wireless Carriers Without Losing Your Number or Your Mind

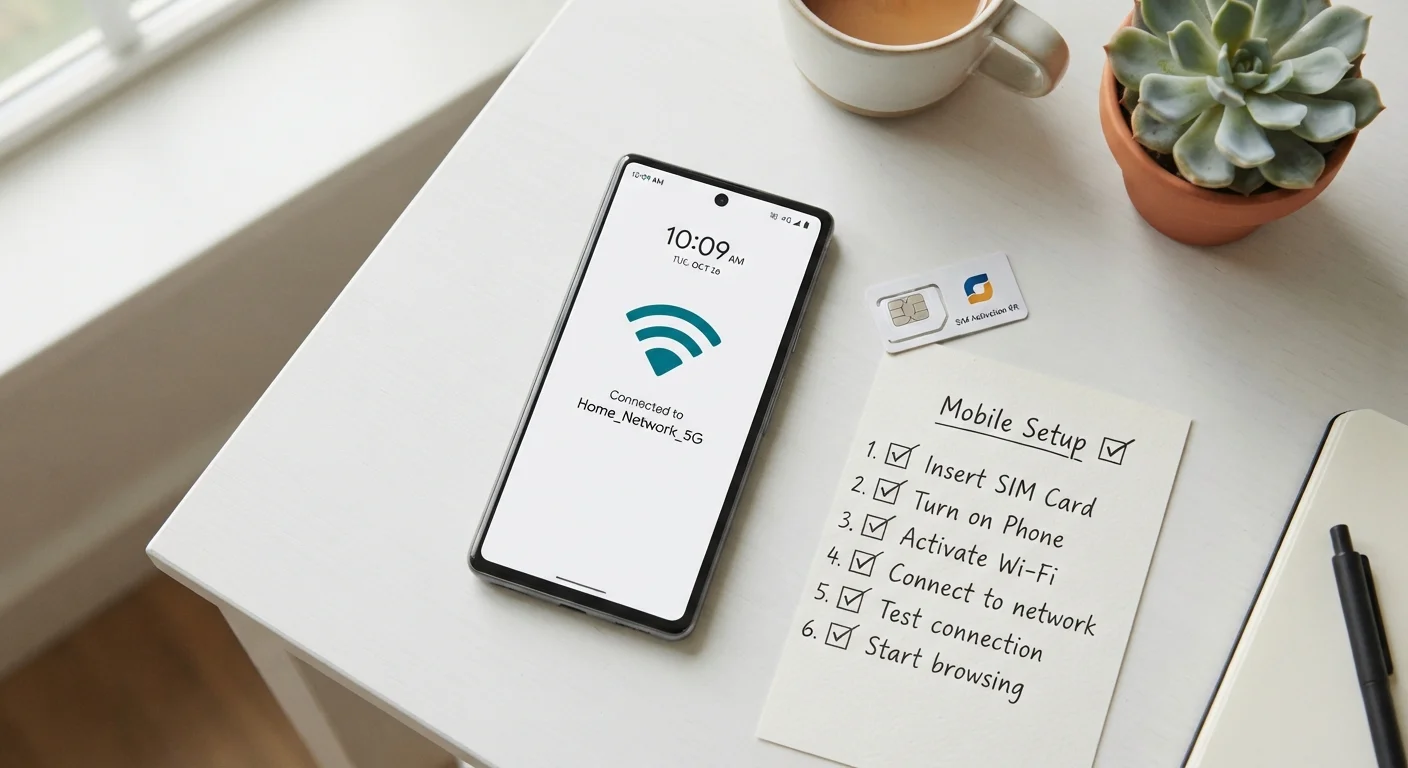
Photo: ScoutAnswers.com | Blogs That Ignite Curiosity editorial
Key Takeaways
- Federal law requires carriers to port your number within one business day upon request.
- Never cancel your old account before the port completes - doing so can cause you to lose your number.
- You need your account number and PIN or transfer code from your current carrier before switching.
- Your phone must be unlocked and compatible with the new carrier's network bands.
- Service on your old plan continues until the port is complete, so there is no coverage gap.
Why Number Portability Exists - and What It Means for You
Number portability - the ability to keep your phone number when changing carriers - has been a legal right for U.S. mobile customers since 2003. The FCC's Local Number Portability rules obligate carriers to process transfer requests promptly and prohibit them from deliberately delaying or blocking a port. This regulatory framework is what makes switching practical: you are not starting over with a new number every time a better plan becomes available.
Understanding the rules removes a major source of anxiety. Carriers cannot legally refuse a valid port request, and they cannot charge you a fee specifically for porting out. What they can do is collect any outstanding device payment balances or apply early termination fees if your contract allows for them. Before you start, it helps to understand what actually differentiates U.S. carriers so you are switching toward something that fits your actual usage, not just a promotional rate.
Your Service Continues During the Port
Before You Start: Preparation Makes the Difference
The most common port failures are caused by missing or incorrect credentials - a wrong PIN, an account number pulled from an outdated bill, or a device that is still locked. Spending ten minutes on preparation before you contact the new carrier prevents hours of troubleshooting afterward.
What you will need
Once you have these items ready, the porting process itself is largely handled between carriers. Your role is to supply accurate information and to avoid taking any action on your old account - like changing your PIN or canceling the line - until the transfer is confirmed complete.
Account PIN or Number Transfer PIN (NTP)
Required by the new carrier to authorize the transfer of your phone number.
Current carrier account number
Identifies your account so the new carrier can initiate the porting request.
Unlocked SIM-compatible or eSIM-capable device
Ensures your phone can connect to the new carrier's network after switching.
New carrier's SIM card or eSIM QR code
The physical or digital card that activates service on the new network.
If you plan to keep your current device, also verify that it supports the new carrier's network bands. Carriers in the U.S. operate on different combinations of radio frequency bands, and a phone that works perfectly on one network may have degraded performance on another even if it technically connects. See our BYOD compatibility guide for the specifics on how to confirm this.
Do Not Cancel Your Old Account Early
Step-by-Step: How to Port Your Number
Confirm your phone is unlocked
A locked phone is tied to your current carrier and will not work on another network. Contact your existing carrier - by phone, online chat, or their app - and request an unlock. Carriers are generally required to unlock devices that have satisfied their payment and usage terms. The process can take up to two business days. If you are bringing a new or recently paid-off device, check whether an automatic unlock has already been applied.
For a full breakdown of device compatibility checks, see our BYOD verification guide.
Gather your account credentials
You will need your current carrier account number and your account PIN. Both appear on your monthly bill or inside your carrier's mobile app. Some carriers now issue a dedicated Number Transfer PIN (NTP) - a short numeric code generated specifically for porting - which replaces the standard account PIN for this purpose. Generate or locate this before contacting your new carrier. Having incorrect credentials is the most common reason a port request is delayed.
Choose and set up your new plan
Select a plan on the new carrier before initiating the port. Consider coverage maps, data allotments, and any restrictions - especially if you travel internationally. Our phone plan checklist outlines the key questions to ask before committing. Once you have chosen a plan, the new carrier will provide either a physical SIM card or an eSIM activation code. Do not activate the new SIM until instructed to do so during the porting process.
Submit the port request to your new carrier
Contact the new carrier - online, in-store, or by phone - and provide your existing phone number, current account number, and PIN or NTP. The new carrier submits a port request on your behalf to the current carrier. Under FCC rules, the current carrier must complete the transfer within one business day of receiving a valid, error-free request. You do not need to contact your old carrier to initiate this step - the new carrier handles it.
Wait for confirmation and activate your new SIM
You will receive a confirmation - typically via text, email, or both - when the port is complete. At that point, insert or activate your new SIM card or eSIM as instructed by the new carrier. Your phone may need a restart to register on the new network. Test calls, texts, and mobile data before assuming everything is working correctly.
Cancel your old account after the port completes
Your old service automatically becomes inactive once the port is finished, but your billing relationship with the previous carrier does not end automatically. Contact the old carrier to confirm account closure and to request a final bill. Review that statement carefully for any early termination fees or equipment charges. Keep records of your cancellation confirmation in case billing disputes arise later.
After the Switch: What to Monitor
Once your new service is active, there are a few loose ends worth verifying. Check that Wi-Fi calling and VoLTE (Voice over LTE) are enabled if your plan and device support them - these settings sometimes need to be toggled on manually after a SIM change. Also update any accounts that use your phone number for two-factor authentication to confirm they are still sending codes correctly.
Review your final bill from the old carrier within the next billing cycle. Carriers occasionally apply partial-month charges, equipment fees, or taxes that appear after account closure. Disputes are easier to resolve with documentation, so save any confirmation emails or chat transcripts from the switch.
If your usage includes frequent international travel, it is worth comparing how your new carrier handles roaming before your next trip. Policies vary significantly. Our guide on international roaming and travel passes covers what to expect. And if you ever need to evaluate a different plan down the road, the phone plan checklist is a practical starting point for any future comparison.
The content on this site is for informational purposes only and is not a substitute for professional advice. Always consult a qualified professional for guidance specific to your situation.