
Drywall Repair: Patching Holes Without Calling a Contractor

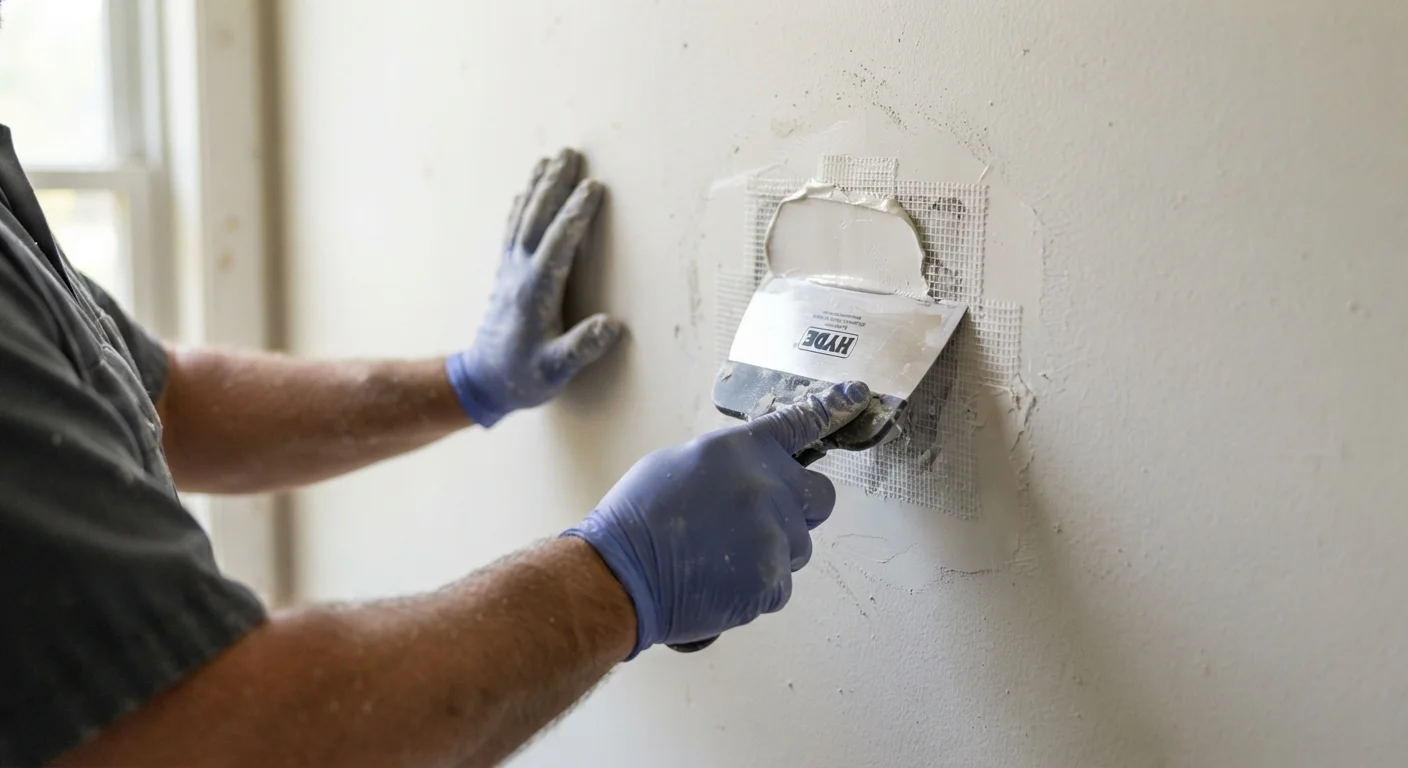
Photo: ScoutAnswers.com | Blogs That Ignite Curiosity editorial
Key Takeaways
- Match your repair method to hole size - small, medium, and large holes each need a different approach.
- Allow each coat of joint compound to dry fully before sanding for a smooth finish.
- Two to three thin coats of compound produce better results than one thick application.
- Feathering compound edges wide beyond the patch prevents visible ridges after painting.
- Structural or recurring cracks may signal deeper issues and should be evaluated by a professional.
Understanding Drywall and Why Holes Happen
Drywall - also called gypsum board or wallboard - consists of a gypsum plaster core sandwiched between two layers of paper. It is durable enough for everyday use but not impact-resistant, which is why doorknobs, furniture moves, and even temperature-driven nail pops leave marks over time. The good news is that the same material properties that make drywall easy to damage also make it straightforward to repair.
Common causes of drywall damage include nail and screw pops as the wood framing behind the wall dries and shifts, doorknob impacts, wall anchor removal, and accidental bumps during moves or renovations. Each of these creates a different type of damage, and matching your repair technique to the specific problem is what separates a lasting fix from one that cracks and falls out within months.
Know When to Call a Professional
Before starting any repair involving cuts into the wall, check for hidden hazards.
Beware of Hidden Wiring and Pipes
Not sure whether your wall damage is cosmetic or something more serious? Our guide to structural vs. cosmetic repairs can help you decide whether this is a project you should handle yourself.
Tools, Materials, and What You Will Need
Gathering everything before you start prevents mid-project trips to the hardware store and keeps compound from drying out on your knife. The tools you need depend on the size of the repair, but a few items appear in every drywall job.
What you will need
Joint compound - sometimes called mud - comes in pre-mixed and powdered forms. Pre-mixed all-purpose compound is the most forgiving choice for DIYers. Lightweight versions shrink slightly less as they dry, which can reduce the number of coats needed.
Pre-Mixed Joint Compound
Fills and smooths the repaired area; used for all hole sizes.
Self-Adhesive Mesh Patch
Provides a backing for medium holes (1-6 inches) without cutting additional drywall.
Drywall Screw Gun or Drill
Fastens backing strips and new drywall panels for large hole repairs.
Drywall Primer (PVA)
Seals the porous compound surface so paint absorbs evenly.
Sanding Sponge
Smooths dried compound with less dust than sandpaper; ideal for finish sanding.
Step-by-Step Repair Instructions
Follow these steps in order, regardless of hole size. The techniques are the same - only the backing method and the quantity of compound will vary based on what you assessed in Step 1.
Assess and classify the damage
Before reaching for any tools, identify what you are working with. Drywall repairs fall into three general categories:
- Small holes and nail pops (under 1 inch): Nail holes, screw dimples, and small dents.
- Medium holes (1-6 inches): Doorknob impacts, anchors pulled from walls, and minor accidents.
- Large holes (over 6 inches): Fist-sized damage, larger access holes, or impact damage requiring a drywall cutout.
Also check the surrounding area for soft or crumbling drywall, which can indicate moisture damage. Patching over water-damaged drywall without addressing the moisture source will lead to recurring failure.
Prepare the damaged area
Clean the repair zone before applying any compound. Remove loose paper facing, crumbling gypsum, and any protruding fasteners. For nail pops, drive the existing nail slightly deeper with a hammer and then drive a drywall screw 2 inches above and below the popped nail to re-secure the panel to the stud. This prevents the pop from recurring.
For larger holes, use a utility knife to trim ragged or torn paper edges back to clean, solid drywall. Jagged edges trap air under compound and create bumps.
Apply the appropriate patch backing
Small holes: No backing needed. Proceed directly to applying compound.
Medium holes (1-6 inches): Center a self-adhesive mesh patch over the hole and press firmly so it adheres to the surrounding drywall. Alternatively, use the California patch method: cut a piece of drywall slightly larger than the hole, score and snap off the gypsum core leaving a 2-inch border of paper facing on all sides, then press the patch into the hole so the paper border bonds to the wall surface with compound.
Large holes (over 6 inches): Cut the damaged area into a clean rectangle using a drywall saw. Attach horizontal wood backing strips (1×3 or 1×4 lumber) inside the wall cavity at the top and bottom of the opening, screwing them to the existing drywall. Cut a replacement drywall piece to fit the opening precisely and fasten it to the backing strips with drywall screws, dimpling slightly without breaking the paper.
Apply the first coat of joint compound
Load your 6-inch putty knife with pre-mixed joint compound and spread a thin, even layer over the patch, pressing firmly to fill the mesh or seams. For small holes, a single application may be enough to fill the void. For medium and large patches, this first coat simply embeds the mesh tape and fills the low spots - do not try to achieve a flat surface yet.
Feather the edges of the compound outward 2-3 inches beyond the patch boundary. This gradual taper is what prevents a visible hump on the finished wall. Allow the coat to dry completely - typically 24 hours, though humidity and temperature affect drying time. The compound will lighten in color as it dries.
Sand, apply second and third coats
Once the first coat is fully dry, lightly sand with 120-grit sandpaper to knock down ridges. Wipe away dust with a slightly damp cloth. Apply a second, slightly wider coat of compound using your 10-inch knife, feathering the edges even further - 4-6 inches from the patch center. Allow to dry and repeat the sanding process.
For most repairs, a third finish coat applied with the 10-inch knife, feathered very wide and spread very thin, will produce a surface that is level with the surrounding wall. After the final coat dries, use 220-grit sandpaper or a sanding sponge for a smooth finish. Run a bare hand across the wall surface - you should feel no ridge or bump at the patch boundary.
Prime and paint the repaired area
Apply drywall primer or PVA primer to the entire patched area, extending a few inches onto the surrounding painted surface. Allow the primer to dry per the manufacturer's direction before painting.
When painting, try to repaint the entire wall section rather than spot-painting the patch. Even with perfect primer, a spot-painted patch can show as a slight sheen difference, especially in flat or matte finishes. A full wall repaint produces the most seamless result.
Finishing Tips for a Seamless Result
The difference between a patch that disappears and one that always catches the eye usually comes down to finishing technique. Sanding too aggressively can tear the paper face of the surrounding drywall, creating new texture problems. Sand lightly and consistently, and always dust off completely between coats.
Prime Before You Paint
If your repair is near trim, baseboards, or corners, you may also need to touch up caulk lines after painting. Gaps between the wall surface and trim can open up during repairs. For tips on making those seams hold long-term, see our article on why caulk fails and how to make it last.
With the right method and a little patience between coats, most homeowners can achieve results that are genuinely indistinguishable from the surrounding wall - no contractor required.
The content on this site is for informational purposes only and is not a substitute for professional advice. Always consult a qualified professional for guidance specific to your situation.