
Buying a Home

What to Look For When Touring a Home

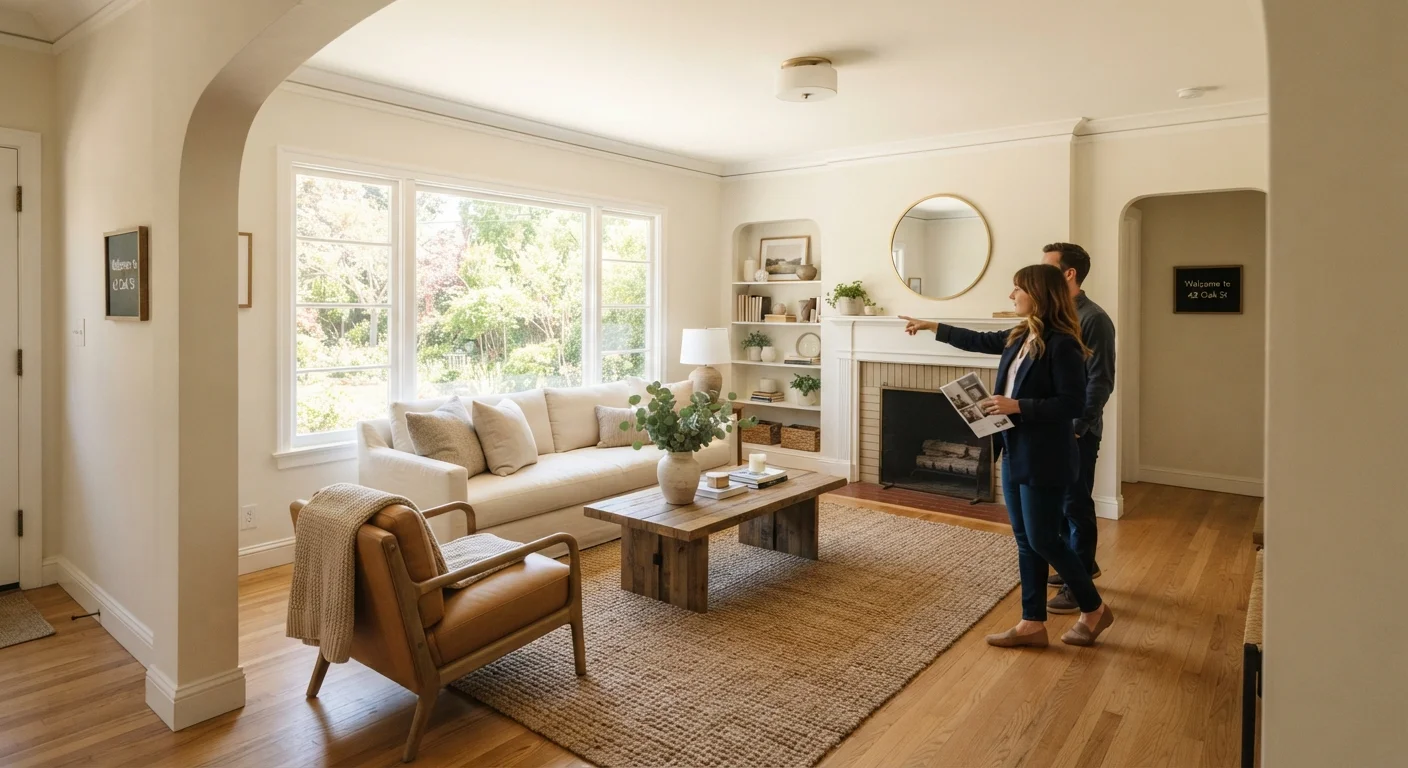
What to Look For When Touring a Home

Photo: ScoutAnswers.com | Blogs That Ignite Curiosity editorial

Open houses move fast. Use this structured walkthrough to evaluate layout, condition, light, mechanicals, and neighborhood factors before you fall in love.

Key Takeaways

  • Tour homes with a checklist rather than relying on memory or first impressions alone.
  • Mechanical systems — HVAC, roof, plumbing, electrical — are among the costliest items to repair or replace.
  • Natural light and layout flow are difficult and expensive to change after purchase.
  • Neighborhood context matters as much as the home's interior condition.
  • Document everything with photos and notes so you can compare objectively across multiple showings.

Why a Structured Walkthrough Changes Your Decision-Making

Touring a home triggers emotion quickly. Sellers stage carefully, agents keep the energy positive, and you may be in and out in twenty minutes. Without a structured approach, buyers often remember the quartz countertops and forget to check whether the basement smelled like moisture. This checklist is designed to slow that process down.

Carry it on your phone or print it before each showing. Use it alongside the seller's disclosure statement — the written document sellers are typically required to provide listing known material defects. The checklist and the disclosure are complementary: the disclosure tells you what the seller knows; the walkthrough helps you see what they may not have mentioned.

If you're weighing whether to tour newly built homes or established properties, our comparison of new construction versus existing homes can help you calibrate what to prioritize on each type of tour.

Exterior and Curb Approach

Inspect the roof from the ground for missing, curling, or discolored shingles — ask the seller's agent for the age of the roof. Must
Check the gutters and downspouts for sagging, rust, or improper drainage away from the foundation. Must
Look at the grading around the foundation — the ground should slope away from the house, not toward it. Must
Note the condition of the driveway, walkways, and any retaining walls for cracks or settling. Should

Foundation and Structure

Walk the basement or crawl space perimeter and look for visible cracks, efflorescence (white mineral deposits), or staining that indicates water intrusion. Must
Check for musty odors, which can signal chronic moisture, mold, or inadequate ventilation. Must
Look for uneven floors or doors that stick in their frames, which may indicate foundation movement or settling. Must

Mechanical Systems

Ask the age of the HVAC system and water heater; confirm both are operational by testing the thermostat and running hot water. Must
Locate the electrical panel and note whether it has been updated — look for any double-tapped breakers or signs of DIY wiring. Must
Run water at multiple fixtures simultaneously to test water pressure and check for slow drainage. Must
Inspect visible plumbing pipes under sinks for rust, corrosion, or active leaks. Should
Ask whether the home has been tested for radon, especially in regions where elevated levels are common. Should

Interior Condition and Layout

Test every light switch, outlet, and exhaust fan you can reach during the walkthrough. Must
Open and close every window and exterior door to check for proper operation, weatherstripping, and seal integrity. Must
Examine ceilings and upper wall corners for water stains or bubbling paint, which can indicate past or active roof or plumbing leaks. Must
Assess the flow between rooms — consider how furniture will move and whether the layout suits how you actually live. Should
Note closet size, cabinet count, and storage options relative to your household's needs. Nice to have

Light, Noise, and Livability

Stand in each main room and observe the natural light direction — consider how morning or afternoon sun affects primary spaces. Should
Listen for traffic noise, HVAC system sounds, or noise transferring between floors if the home is multi-level. Should
Visit the home at a different time of day than your first tour to assess light and street activity under varied conditions. Nice to have

Neighborhood and Location Factors

Walk or drive the immediate block to observe street conditions, neighbor property upkeep, and proximity to noise sources. Must
Research school district assignments, flood zone designation, and zoning for adjacent parcels through public records. Should
Check commute times and proximity to grocery stores, healthcare, and other services that matter to your daily routine. Should
Look up whether the property is in an HOA and review any fee structure or restrictions before advancing your offer. Must

What to Bring and Who to Bring With You

Preparation before you walk through the door shapes what you notice once you're inside.

Required

Flashlight

Illuminate dark corners in basements, crawl spaces, attic hatches, and under-sink cabinets where damage is easy to miss.

Required

Smartphone camera

Document conditions in each room with timestamped photos so you can compare homes objectively after multiple tours.

Required

Notepad or checklist app

Record observations room by room during the tour rather than relying on memory after leaving.

Required

Seller's disclosure statement

Cross-reference known defects the seller has declared against what you observe during your walkthrough.

Optional

Outlet tester (plug-in)

Quickly verify that outlets are properly wired and grounded without needing electrical expertise.

Consider bringing a trusted second person — a partner, a family member with renovation experience, or a contractor friend. Sellers and agents expect buyers to look carefully; you are not being rude by opening closets, running faucets, or flipping light switches. That is exactly what a showing is for.

Don't Rely on the Tour Alone

A home tour is a preliminary screening tool, not a substitute for a professional inspection. Even trained eyes miss issues hidden behind walls, under flooring, or in inaccessible areas. If you make an offer, negotiate an inspection contingency that gives you the right to have a licensed home inspector evaluate the property before your purchase is finalized.

After your tour, compare notes the same day while impressions are fresh. If you are seriously interested, a licensed home inspector will examine the property far more thoroughly than any walkthrough allows — but this checklist helps you decide whether it's worth getting to that stage.

Buyers who want to understand what might need attention after closing should also review the areas homeowners commonly overlook during renovation, which covers issues like attic air sealing, subfloor condition, and electrical capacity that can surface after move-in.

This article is for general informational purposes only and does not constitute financial, legal, or professional real estate advice. Consult a licensed real estate professional for guidance specific to your situation and market.

Real Estate Editorial Team

ScoutAnswers.com | Blogs That Ignite Curiosity

Real Estate Editorial Team is the collective byline for our editorial team and contributor network. Articles published under this byline or an editorial pen name are researched, written, and reviewed according to our editorial standards for clarity, consistency, and independence before publication.

Buying a HomeSelling & RentingMarket & Mortgages
View author profile

The content on this site is for informational purposes only and is not a substitute for professional advice. Always consult a qualified professional for guidance specific to your situation.