
Composting at Home: Turning Kitchen Scraps Into Garden Gold

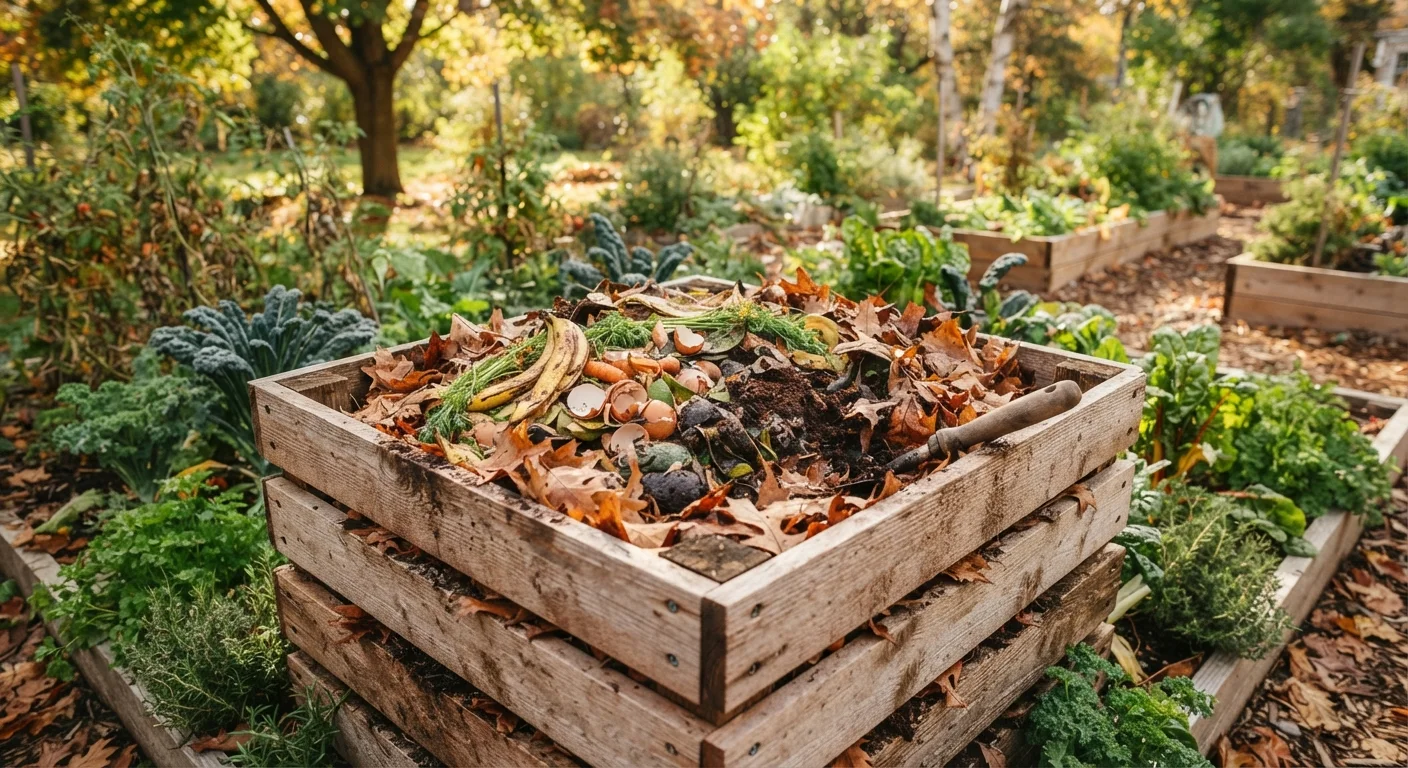
Photo: ScoutAnswers.com | Blogs That Ignite Curiosity editorial
Key Takeaways
- Composting requires a balanced mix of carbon-rich "browns" and nitrogen-rich "greens" to decompose efficiently.
- Finished compost typically takes two to six months depending on bin management, materials, and climate.
- Meat, dairy, and oily foods should be kept out of a standard backyard compost bin.
- Turning the pile regularly and maintaining moisture speeds up decomposition significantly.
- Finished compost improves soil structure, drainage, and nutrient availability for plants.
Why Composting Belongs in Every Home Garden
Composting is one of the most effective and low-cost ways to improve the health of your garden soil. By recycling kitchen and yard waste, you create a rich soil amendment - often called "gardeners' gold" - that improves drainage in clay soils, boosts water retention in sandy soils, and feeds the microbial life that plants depend on. It also meaningfully reduces the volume of organic waste your household sends to the landfill.
Unlike synthetic fertilizers, compost releases nutrients slowly as it breaks down, providing a more stable source of nourishment for plants over an extended period. If you are planning raised beds or an in-ground vegetable garden, adding finished compost to your soil before planting is one of the highest-impact steps you can take. See our guide to raised beds vs. in-ground planting for more on how soil preparation affects results in each system.
Compost bin or designated pile area
Contains materials, retains heat and moisture, and keeps the pile tidy.
Garden fork or compost turning tool
Used to aerate the pile by turning materials to speed decomposition.
Kitchen scrap collector or small countertop bin
Collects vegetable peels, coffee grounds, and other food scraps before transferring to the outdoor bin.
Garden hose or watering can
Used to add moisture if the pile dries out.
Compost thermometer
Monitors internal pile temperature to confirm active decomposition is occurring.
The process itself is straightforward: organic materials decompose with the help of bacteria, fungi, and other microorganisms when given the right balance of carbon, nitrogen, moisture, and oxygen. Understanding these four inputs is the foundation of all successful composting.
What to Add - and What to Leave Out
Knowing which materials belong in your bin is essential. Most fruit and vegetable scraps, eggshells, coffee grounds, loose-leaf tea, and plain cooked grains are safe additions. From the yard, dried leaves, grass clippings (in moderate amounts), plant trimmings free of pesticide residue, and shredded cardboard all work well.
Keep These Materials Out
A few materials fall into a gray area. Wood ash can be added sparingly but raises soil pH over time. Citrus peels and onion skins break down fine despite common concerns. Weeds are acceptable if they have not gone to seed. If you grow edible plants and want to extend a healthy approach to your whole garden, our article on natural pest control methods for home gardens pairs well with composting as part of an organic growing system.
Speed Up Decomposition Naturally
Steps to Start and Maintain Your Compost Pile
What you will need
Choose your composting method and location
Decide between an open pile, a DIY wooden bin, or a purchased tumbler-style container. Each method works - the right choice depends on your yard size, budget, and how hands-on you want to be. Place your bin or pile in a spot with partial shade if possible, which helps maintain moisture, and ensure it is accessible year-round. Keep it at least a few feet from wooden fences or structures to allow airflow on all sides.
Gather your "greens" and "browns"
Successful composting depends on balancing two types of materials. Greens are nitrogen-rich: vegetable and fruit scraps, coffee grounds and filters, fresh grass clippings, and plant trimmings. Browns are carbon-rich: dried leaves, cardboard torn into small pieces, newspaper, straw, and wood chips. A general guideline is to aim for roughly two to three parts browns for every one part greens by volume, though exact ratios can vary by source material.
Build and layer your pile
Start with a base layer of coarse browns - twigs, straw, or wood chips work well - about three to four inches deep. This improves airflow at the bottom. Then alternate layers of greens and browns as you add materials over time. You do not need to be perfectly precise; the goal is variety and balance rather than exact measurements. A pile that reaches at least three feet in height and width will generate enough internal heat to decompose efficiently.
Maintain moisture and aeration
Your pile should feel damp but not waterlogged - similar to a wrung-out sponge. During dry weather, water the pile lightly with a hose. During heavy rain, cover it with a tarp if waterlogging is a risk. Turn the pile with a garden fork every one to two weeks to introduce oxygen, which feeds the aerobic microbes responsible for decomposition. Turning also redistributes heat and moves outer materials into the warmer core.
Monitor for signs of progress
An active pile will feel warm in its center - sometimes noticeably hot - which indicates healthy microbial activity. After several weeks, materials will shrink in volume and begin to look dark and crumbly. If the pile smells foul, add more browns and turn it. If it seems dry and inactive, add greens or a little water. Troubleshooting is straightforward once you recognize that smell and texture are your best indicators of pile health.
Harvest and apply finished compost
Compost is ready to use when it is dark brown, crumbly, and smells earthy - not like rotting food. This typically takes two to six months depending on conditions and management. Stop adding new materials to the bin and allow the contents to finish curing. Sift out any large unfinished pieces and return them to start a new pile. Apply finished compost two to three inches deep as a top dressing around plants, or work it into garden beds before planting to improve soil structure and nutrient availability.
Soggy Piles Stop Decomposing
Once you have harvested finished compost, work it into your planting beds before the growing season. Whether you are starting a vegetable garden from scratch or enriching existing borders, compost improves outcomes across nearly all soil types and garden styles. It is also worth checking out common misconceptions before you begin - our piece on garden myths that waste time and money addresses several widely repeated composting claims that the evidence does not support.
The content on this site is for informational purposes only and is not a substitute for professional advice. Always consult a qualified professional for guidance specific to your situation.