
Growing a Lawn From Seed: A Season-by-Season Guide

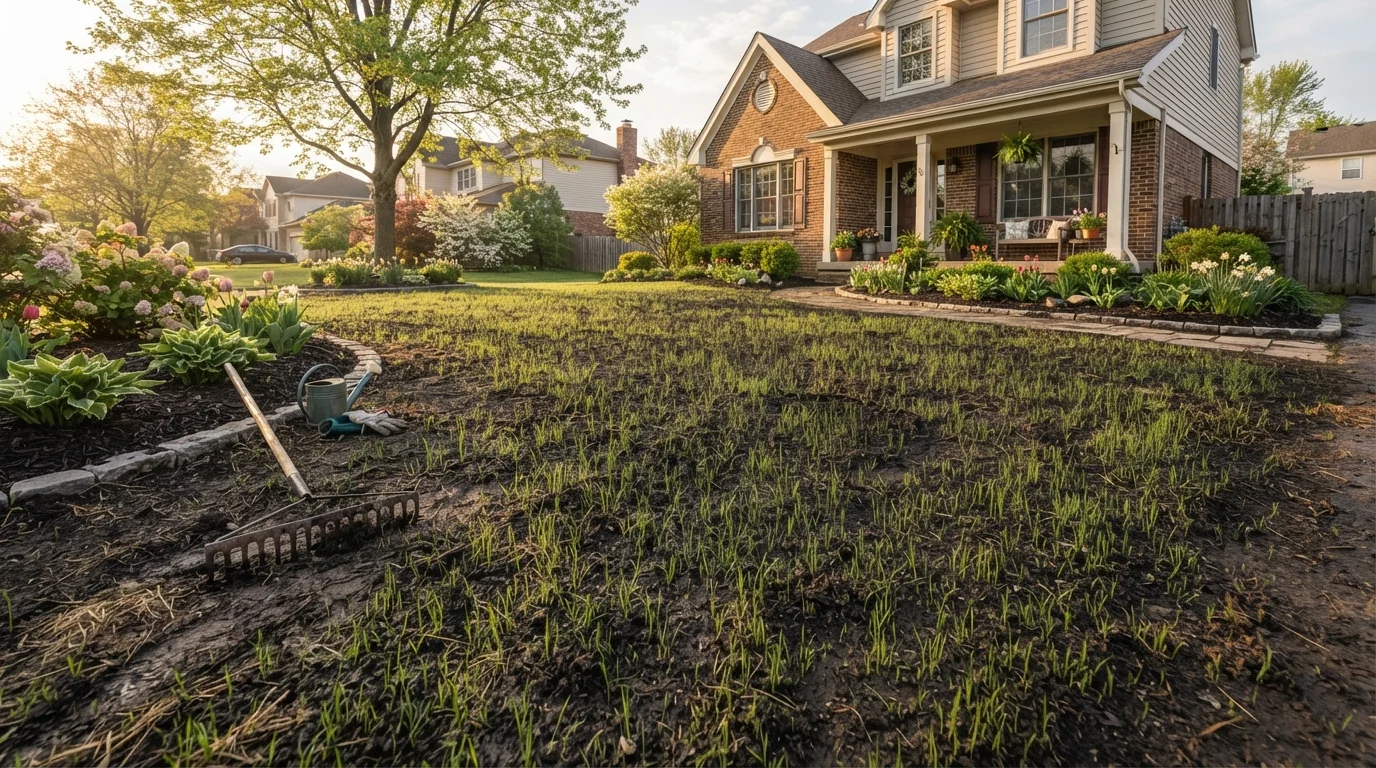
Photo: ScoutAnswers.com | Blogs That Ignite Curiosity editorial
Key Takeaways
- Seed type must match your climate - cool-season grasses and warm-season grasses have very different planting windows.
- Soil preparation - including testing, amendment, and raking - determines germination success more than any other factor.
- Fall is the best time to seed cool-season lawns; late spring works best for warm-season varieties.
- Keep seedbed consistently moist until germination, then gradually reduce watering frequency as roots deepen.
- Never mow new grass until it reaches at least three inches tall to avoid uprooting fragile seedlings.
- Patience matters: a seeded lawn typically takes one full growing season to establish a durable root system.
Choosing the Right Grass Seed for Your Region
Before you open a bag of seed, you need to match the grass type to your climate. Planting the wrong variety is one of the most common and costly mistakes homeowners make. Grass species fall into two broad categories: cool-season grasses, which thrive in northern states with cold winters and mild summers, and warm-season grasses, which are built for the heat and humidity of the South and transition zones.
Cool-season types - including tall fescue, Kentucky bluegrass, and perennial ryegrass - grow most vigorously in spring and fall when soil temperatures are between 50°F and 65°F. Warm-season varieties such as Bermuda, Zoysia, and St. Augustine prefer soil temperatures above 65°F and go dormant in cold weather. See our guide to cool-season vs. warm-season grasses for a detailed regional breakdown before making your selection.
When purchasing seed, look for a high germination rate percentage and low weed seed content on the label - these are regulated disclosures required by law on commercially sold seed bags.
Request a soil test through your local cooperative extension service before purchasing any amendments - it takes the guesswork out of pH correction and prevents you from over-applying products that can actually harm germination.
When seeding in fall, aim to get seed down at least 45 days before your region's first expected frost date - seedlings need enough time to develop roots before cold stops growth.
Soil Preparation: The Step Most Homeowners Skip
A lush lawn starts below the surface. Skipping soil preparation is the single biggest reason new lawns fail or grow in thin and patchy. Begin with a soil test - your local cooperative extension office can provide affordable kits. The test will tell you your soil's pH and nutrient levels, so you can amend precisely rather than guessing.
Most lawn grasses prefer a soil pH between 6.0 and 7.0. If your soil is too acidic, work in ground limestone. If it's too alkaline, sulfur-based amendments can bring it down. Spread a 2-3 inch layer of compost across the area and till it 4-6 inches deep to improve drainage and root penetration.
After amending, rake the surface to a fine, crumbly texture - about the consistency of cornmeal. Remove rocks, debris, and large clods. Then use a lawn roller (available at equipment rental stores) to lightly firm the seedbed so seeds have consistent soil contact without compaction. Good seed-to-soil contact is essential for germination.
Don't Apply Pre-Emergent Herbicides Before Seeding
When to Seed: Timing by Season
Timing is the variable you control that most directly affects germination rates. Seeding outside the ideal window means seeds may sit dormant, rot, or germinate into conditions they can't survive.
- Fall (cool-season grasses): Late August through mid-October is the prime window across most northern states. Soil is warm from summer but air temperatures are cooling - ideal for germination without summer stress.
- Spring (cool-season grasses): A workable secondary window runs from early March through early May. Expect more competition from weeds and higher risk of seedlings hitting summer heat before they're established.
- Late spring to early summer (warm-season grasses): Seed after the last frost date when soil temperatures consistently exceed 65°F - typically May through July in most southern regions.
- Avoid seeding in midsummer or deep winter in nearly all climates. Extreme temperatures and moisture stress make establishment unlikely.
Our fall lawn care checklist covers how to pair overseeding with aeration for the best cool-season results.
Seeding Techniques and Application
Once your seedbed is ready and the timing is right, application method matters. For most residential lawns, a broadcast or rotary spreader provides the most even coverage. Drop spreaders offer more precision along edges and borders. Hand-casting seed by feel leads to uneven density and bare patches.
Divide your seed into two equal portions and apply in perpendicular passes - first north-to-south, then east-to-west. This crosshatch pattern fills coverage gaps that single-direction spreading leaves behind. Always follow the seeding rate listed on the seed bag label; more is not better, as overcrowded seedlings compete for resources and thin out anyway.
After spreading, use a rake to gently work the seed into the top ¼ inch of soil. Then roll lightly again with the lawn roller to press seeds into contact with soil. Applying a thin layer of straw mulch (about one bale per 1,000 square feet) helps retain moisture and reduces erosion - but avoid thick coverage that blocks light from reaching seedlings.
Watering Schedule After Seeding
Consistent moisture is non-negotiable during germination. Seeds need the top inch of soil to stay evenly moist - not saturated, not dry - until they sprout. This typically means light watering two to three times per day for the first one to two weeks, depending on temperature and wind. Early morning and late afternoon are the best times to avoid rapid evaporation.
Once seedlings emerge and reach about an inch tall, shift to deeper, less frequent watering - aiming for about one inch of water per week total. This encourages roots to chase moisture deeper into the soil rather than staying shallow and fragile near the surface.
Set Up a Simple Watering Check
Avoid watering in the evening or at night during establishment. Wet foliage that stays damp overnight creates conditions favorable for fungal diseases like damping-off, which can kill seedlings rapidly. If you use an irrigation system, program it for early morning runs only.
First Mowing and Ongoing Care
Resist the urge to mow too soon. New seedlings are anchored by delicate roots that can be torn out by a mower before they've had time to establish. Wait until grass reaches at least 3 inches tall, then mow to no lower than 2 to 2½ inches on the first pass. Never remove more than one-third of the blade length in a single mowing - a rule that applies throughout the life of your lawn.
Keep foot traffic off the new lawn for the first four to six weeks. Every footstep on emerging grass compacts the soil and displaces seedlings from their fragile soil contact.
For fertilization, wait until after the first or second mowing, then apply a starter fertilizer if you haven't already worked one into the seedbed. Avoid high-nitrogen formulas early on - they push fast top growth at the expense of root development. A balanced, slow-release product applied according to label directions supports steady, sustainable establishment.
Building a healthy lawn from seed takes a full growing season to truly establish. Thinning areas can often be addressed by overseeding the following season. For companion garden planning, see our guide to perennials vs. annuals to build out surrounding beds while your lawn matures.
The content on this site is for informational purposes only and is not a substitute for professional advice. Always consult a qualified professional for guidance specific to your situation.