
Switching Internet Providers Without Losing a Day of Connectivity

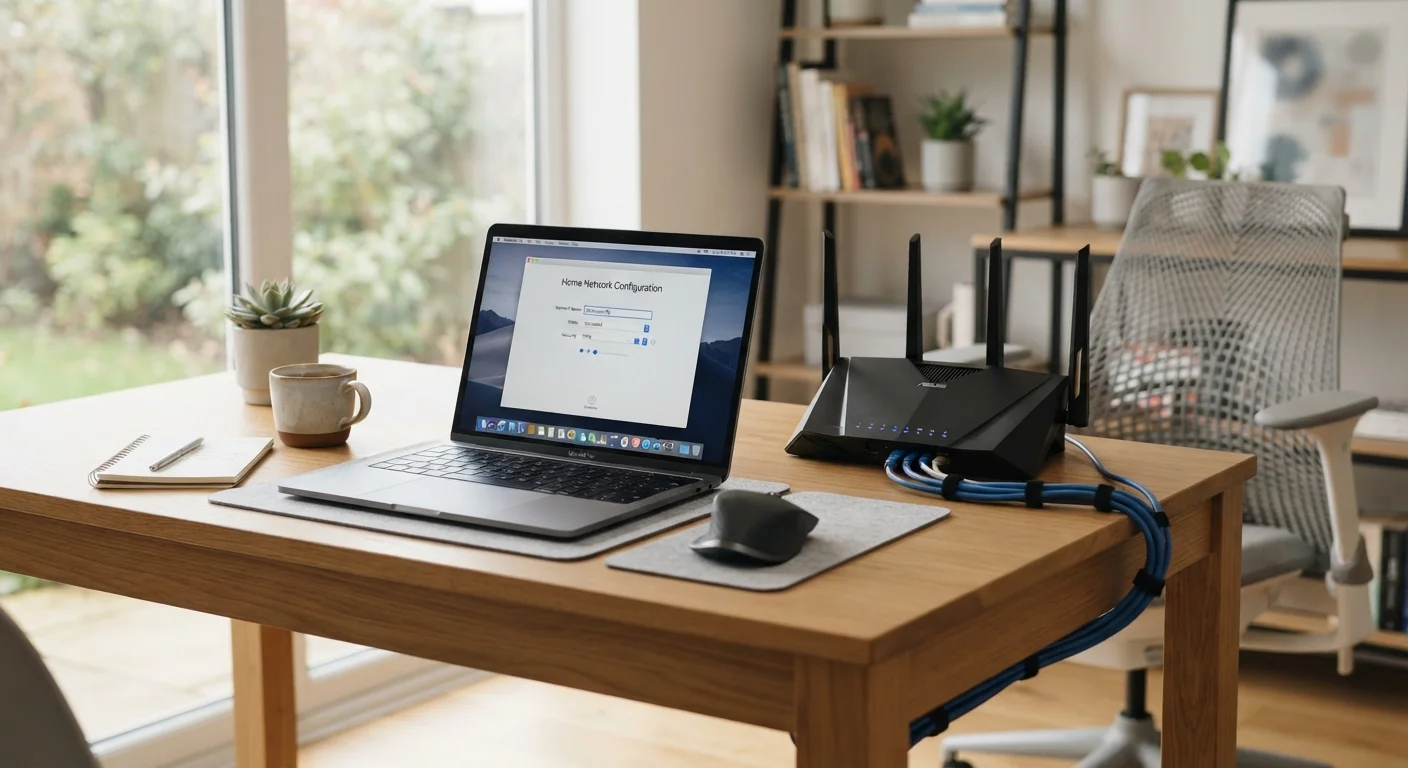
Photo: ScoutAnswers.com | Blogs That Ignite Curiosity editorial
Key Takeaways
- Schedule your new service installation before canceling your current provider to avoid any gap in connectivity.
- Run both services simultaneously for a short overlap period to verify the new connection works reliably.
- Return old equipment promptly and get written confirmation to avoid unreturned-equipment fees.
- Check your current contract for early termination fees before initiating a switch.
- Keep billing records from both providers until final statements are confirmed closed.
Why the Timing of Your Switch Matters More Than the Switch Itself
Most connectivity disruptions during an ISP switch are self-inflicted - they happen because a subscriber cancels service on the same day the new provider installs, or because an installation gets pushed back unexpectedly. The mechanics of switching are straightforward; the risk is entirely in the sequencing.
Home internet is also different from switching wireless carriers. With a phone, your number ports electronically and service is rarely interrupted for more than minutes. With home internet, a technician may need to visit, a new line may need to be run, or equipment may need to be self-installed and activated - any of which can take time to resolve. For context on how carrier switching works by comparison, see our walkthrough on switching wireless carriers without losing your number.
If you're new to home internet service types entirely, our first-timer's primer on home internet provides useful grounding before you commit to a new plan.
What you will need
What You'll Need Before You Start
Having the right information at hand before you make any calls reduces the chance of errors significantly. Gather your account credentials, contract documents, and any equipment serial numbers listed on your rented hardware. Understanding your current plan's speed tier is also useful - it gives you a baseline to compare against your new service after installation.
If you want to verify whether your current speeds actually match what you're paying for, our article on internet speed myths that keep misleading subscribers explains how to interpret speed test results accurately.
Speed test tool (e.g., a browser-based service like Fast.com or Speedtest.net)
Verify that your new connection is delivering the speeds you signed up for before canceling the old one.
Ethernet cable
Connect directly to the new modem or gateway during initial setup for a more accurate speed baseline.
Original equipment packaging or return shipping label
Used to return rented modem or router equipment to your old ISP in good condition.
Step-by-Step: Making the Switch
Follow these steps in order. Each one is designed to keep you connected throughout the transition and to protect you from post-cancellation billing disputes.
Review your current contract terms
Before contacting any new provider, pull up your existing ISP agreement and identify three things: the contract end date, the early termination fee (ETF) if you cancel early, and any equipment you're currently renting. ETFs vary widely - some providers charge a flat fee, others prorate by remaining months. If your contract is near its end, waiting a few weeks could save you a meaningful amount. For a deeper look at what contract clauses to watch for, see our guide on reading an ISP contract before you sign.
Choose and schedule your new service
Once you know your exit window, contact your chosen new provider and schedule installation. Pick an installation date before your planned cancellation date with the old ISP - not the same day. A two-to-five day overlap is ideal. If you're unsure which type of internet service fits your household, our explainer on fiber, cable, DSL, and fixed wireless breaks down the meaningful differences between technologies.
Test and validate the new connection
Once the new service is live, run a wired speed test by connecting a laptop or desktop directly to the new modem via ethernet. Compare the results to your plan's advertised speeds. Test at different times of day - morning, evening peak hours - to catch congestion issues early. If speeds fall significantly short of what you signed up for, contact the new provider's support line before you cancel the old service. You still have leverage at this stage.
Cancel your old service formally
Call your current ISP's cancellation line - most providers require a phone call rather than an online request to process a cancellation. Note the date, time, representative name, and confirmation number. Ask explicitly: What is my final billing date? Will I be charged for a partial billing period? Request that the cancellation be confirmed in writing via email. Some providers impose a 30-day notice requirement, so factor this into your overlap window.
Return rented equipment and document it
If your old ISP provided a modem, router, or gateway, return it promptly - typically within 30 days of cancellation. Use the prepaid shipping label if provided, or drop equipment at an authorized retail location and ask for a dated receipt. Photograph the equipment before packing it. Keep your return receipt until you receive a final bill with a zero balance or written confirmation that no equipment fees are pending.
Reconcile your final bills
Review the last statement from your old ISP carefully. Common surprise charges include: a partial-month billing period after cancellation, a late equipment return fee, or a reinstated promotional rate adjustment. If you spot an unexpected charge, contact the provider with your cancellation confirmation number. Similarly, verify your first bill from the new provider matches the rate and terms you were quoted - promotional pricing and standard pricing are sometimes confused during onboarding.
Note: ISP policies, contract terms, and equipment return procedures vary by provider and region. Always verify specific terms directly with your provider before acting.
Avoiding Common Pitfalls After the Switch
Even after both accounts are settled, a few loose ends are worth tying up. Update any automatic payment methods that were tied to your old ISP account to prevent accidental charges to a closed or zero-balance account. If your old ISP bundled telephone service with your internet, confirm that any number forwarding or voicemail settings have been migrated or discontinued as intended.
Also reconfigure your home network under the new router's settings - especially if you're replacing a rented gateway with your own equipment. Wi-Fi network names (SSIDs), passwords, and parental controls do not transfer automatically between devices.
Keep a Simple Switch Log
For readers managing multiple connected devices at home, our Connected Devices hub covers smart home setup and network optimization considerations worth reviewing once your new service is stable.
The content on this site is for informational purposes only and is not a substitute for professional advice. Always consult a qualified professional for guidance specific to your situation.